
By Varun Shankar, VI Form
 3D printing—it sounds like something out of a futuristic sci-fi movie, where anyone is able to instantaneously create whatever object he or she desires, but in fact the technology is becoming more accessible today. No, we’re not able to instantly materialize anything we want yet, but 3D printing has grown from an obscure technology confined to expensive labs to a relatively cheap product for the layman. 3D printing starts with a 3D computer model of an object, made with any of the various available Computer Assisted Design (CAD) programs. The CAD file is then sent to the printer, which prints out the object in a certain time period, depending on the size, shape, and complexity of the object.
While there are a myriad of methods to produce a 3D object, the most commonly used one is Fused Deposition Modeling (FDM). Not as complicated as it sounds, the process involves slicing up the object into thin layers from bottom to top and “printing” (recreating) each layer one by one with a tiny nozzle of heated plastic. The layer hardens and the next layer is printed on top, eventually creating the final object. To create truly complex designs, however, many prints require supporting materials that encase and support the desired object during the printing process. To solve this, high-end printers (like the “Mojo” units that St. Mark’s has recently acquired) utilize a second dissolvable material that is printed as support along with the actual object. After the object has printed, it is placed in a special washing machine that dissolves the support structures, rendering the completed design. [Please see pictures of printer and process at bottom of article]
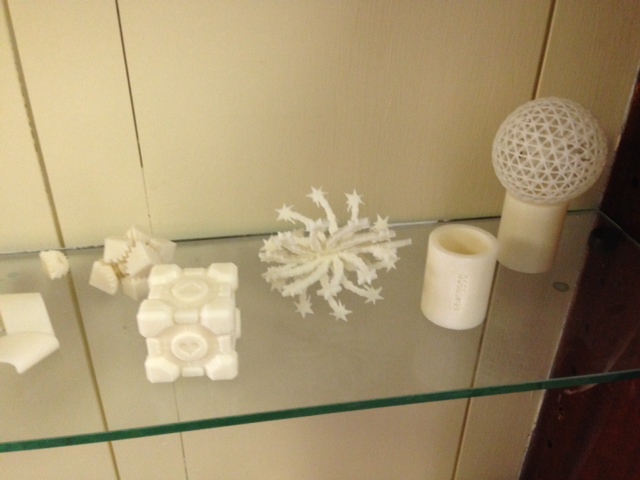
3D printing has its limits, but it is incredibly useful today, both in the professional and the educational worlds. 3D printers were designed to be rapid prototyping machines, meaning their job is to quickly create plastic prototypes so the models can be tested without producing real parts out of the desired materials, such as expensive, non-pliable metals. Despite the extensive testing simulation prowess of many CAD programs, they have their limitations like any software. In a complex model with multiple moving parts and intricate facets, a physical model must be created to test the validity and functionality of a design. Though the 3D printer was designed for prototyping, dramatic drops in printer prices have led the product to become a personal 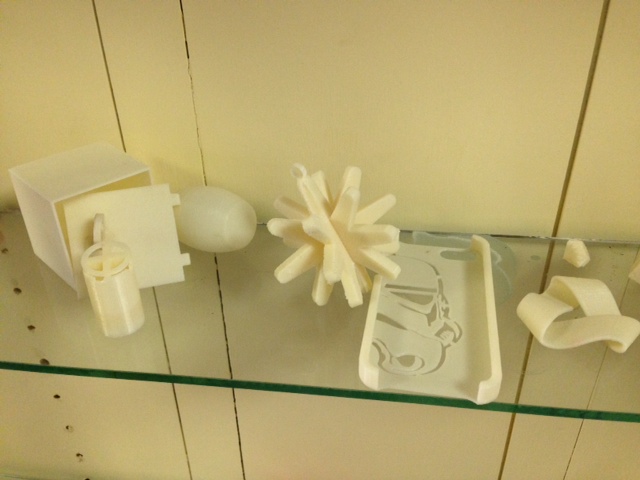 manufacturing station. Broke your phone case? Print a new one. Need some cable organizers? Print them. Want an entertaining puzzle for the next few hours? Print one. Spend five minutes on sites like thingiverse.com and you’ll see the wide swath of CAD models regular people have designed, printed, and made available online for anyone to use. Home manufacturing has expanded past personal use as well, with companies like Shapeways allowing users to print and sell their own designs to others, similar to Etsy. If this trend continues, it’s easy to imagine a future in which 3D printers are as prevalent as our 2D printers today, and anyone can download and print an item without any experience in manufacturing.
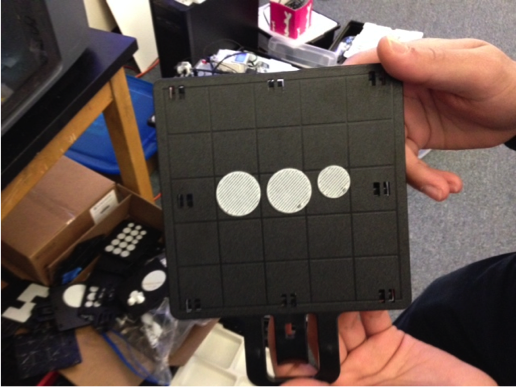
3D printing at St. Mark’s has developed from a cutting-edge novelty to an essential component of the STEM Program. The first few weeks of the 3D printers’ arrival were packed with students lined up 24/7 to print the cool designs that they found online. While St. Mark’s students’ excitement towards the new technology was apparent, the prints were more playful than educational. However, as classes like New Media began to use the technology to realize their virtual CAD designs, the 3D printer became a vital scholastic tool.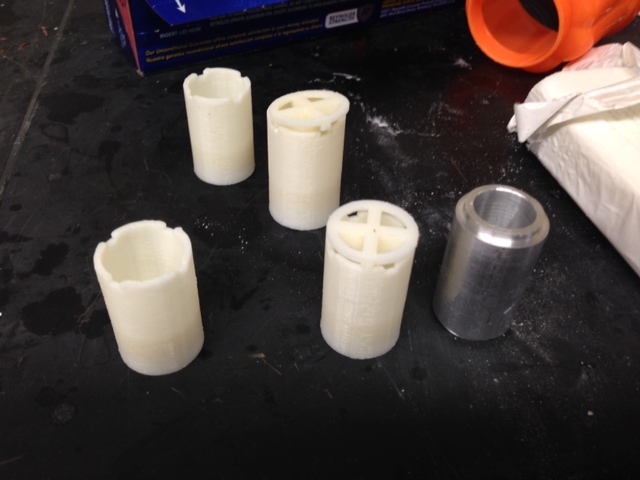 In my personal experience as a STEM Fellow, I have used the 3D printer extensively to help develop my project. A key component of my water transport system is a series of one-way valves. Hoping to reduce costs, I employed 3D printing for these valves (photo right) instead of using the often expensive commercial ones. Unfortunately, the plastic valves were unable to retain their form in the high heat required for the transport system, so I was forced to machine them out of a more durable material. Though the rapidly manufactured plastic valves turned out to be a setback, they were an overall success as they served the purpose as prototypes, enabling me to complete testing much more efficiently.
St. Mark’s 3D printers have already had an impacting influence on the school and the STEM initiative, and I foresee their use to become even more widespread. As more students become familiar with the technology, 3D printed objects will find their way across a wider array of disciplines, becoming another mechanism to convert abstract concepts into tangible objects. Some students have already expanded its use past engineering, printing extremely accurate models of molecules to examine bonding mechanisms for AP Chemistry. The more our community becomes aware of and uses the technology, the more innovative applications we will find for it in the years to come.
3D Printing Steps
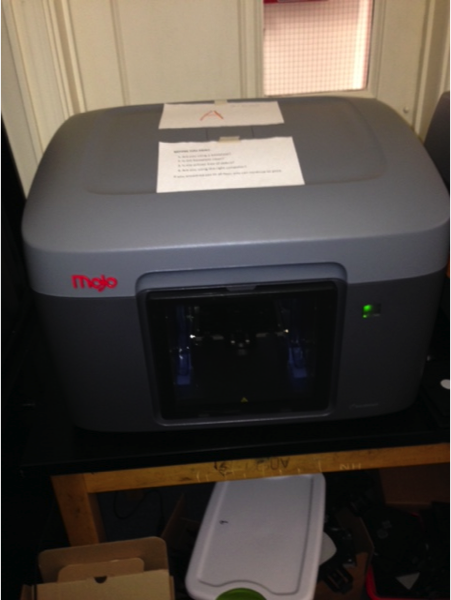
Step 1: Send the electronic file to the printer via the proprietary software. The printing area is contained within the small window visible in the picture.
Step 2: The parts print on the plastic tray visible above. Remove the tray from the printer and pull off the parts.
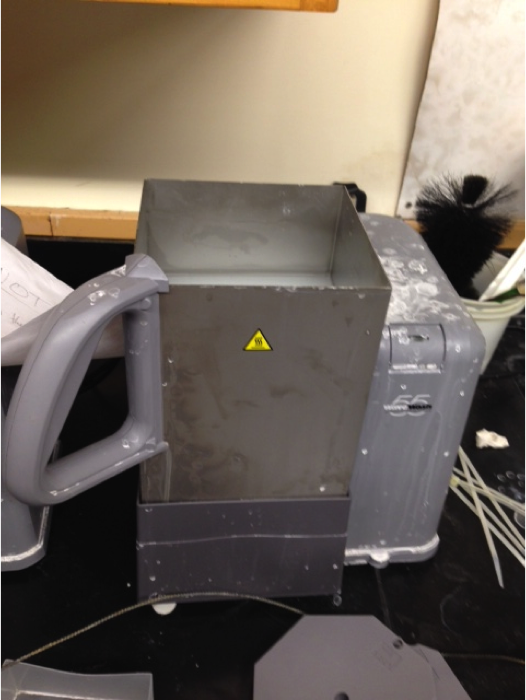 Step 3: Many parts will contain support structures made out of a special dissolvable material. Place the parts in the left machine, which swirls the part in a basic solution similar to dish detergent, and the material will dissolve in around 4-6 hours. The part is now complete!
Varun Shankar is a VI Form day student from Southborough. He plays violin and participates in music ensembles inside and outside of St. Mark’s. Besides playing violin, Varun enjoys engineering, is on the robotics team at St. Mark’s, and is part of the STEM Fellowship this year.